
Sponsor Millionaire’s Brain Academy
Table of Contents
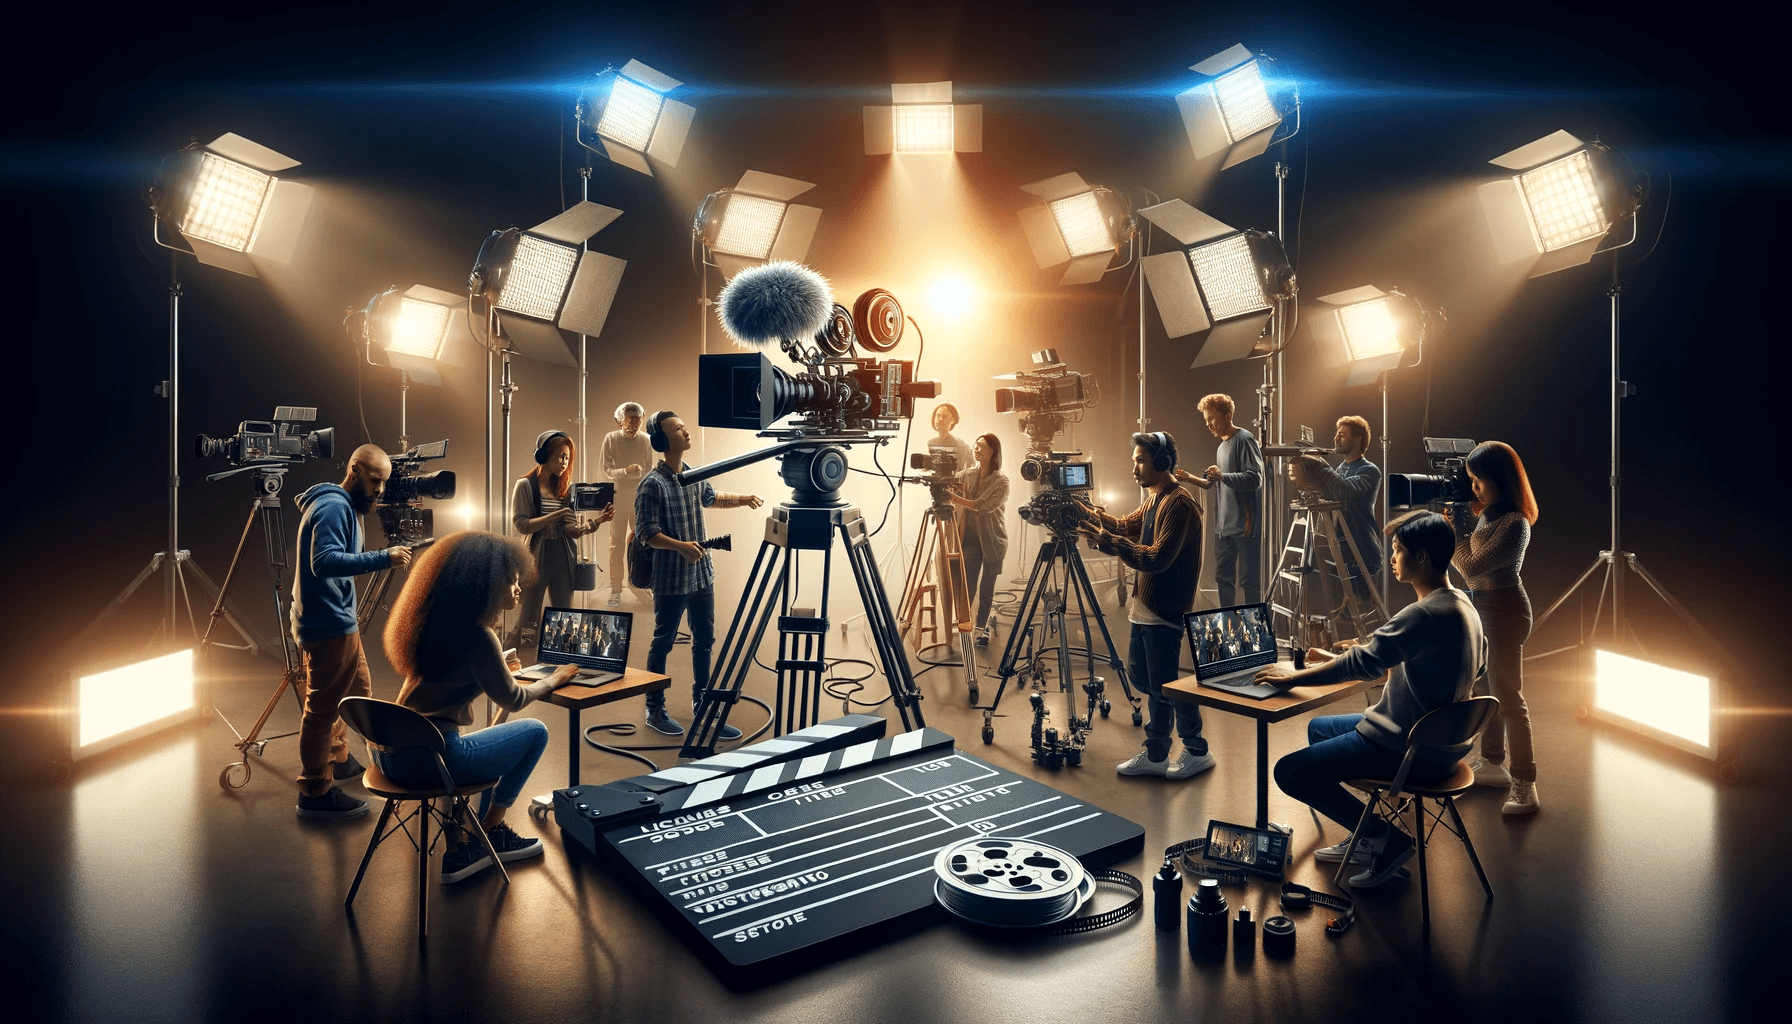
What is Videography?
Videography is a captivating art form that allows us to tell stories, capture memories, and express our creativity through moving images. Whether you have just discovered your passion for videography or have been dabbling in it for a while, this comprehensive guide will provide you with the knowledge and tools you need to master the art of videography.
Understanding the Basics of Videography
Before diving into the technical aspects of videography, it is essential to understand the basics. Videography is capturing and recording moving images, typically using a camera. As a videographer, you aim to convey a message, evoke emotions, or simply document a moment.
To start your videography journey, familiarize yourself with the different types of shots and camera movements. Wide shots capture the entire scene, while close-ups focus on specific details. Camera movements such as pans, tilts, and tracking shots add dynamism to your footage. Experiment with these techniques to understand how they can enhance your storytelling.
Essential Equipment for Videography
Investing in the right equipment is crucial for videographers. While professional-grade gear may be expensive, there are affordable options for beginners. Here are some essential items to consider:

- Camera: Choose a camera that suits your needs and budget. DSLR cameras are popular among videographers due to their versatility and image quality.
- Lenses: Different lenses offer varying perspectives and focal lengths. Wide-angle lenses are great for capturing expansive landscapes, while telephoto lenses are ideal for zooming in on subjects from a distance.
- Tripod: A stable camera is essential for capturing steady footage. Invest in a tripod that can support your camera’s weight and offers smooth panning capabilities.
- Microphone: Good audio is just as important as high-quality visuals. Consider purchasing a directional or Lavalier microphone to capture clear and crisp sound.
- Lighting: Proper lighting can make a significant difference in the quality of your videos. Start with a basic lighting kit that includes softboxes or LED lights to control the illumination in your scenes.
Remember, the key to videography equipment is to start with the essentials and gradually upgrade as you gain more experience and understanding of your specific needs.
Lighting Techniques for Videography
Lighting is a fundamental aspect of videography that can dramatically impact your videos’ overall look and feel. Here are some essential lighting techniques to consider:
- Three-Point Lighting: This classic lighting setup involves three key lights: the key light, fill light, and backlight. The critical light provides the primary illumination, the fill light softens the shadows created by the key light, and the backlight adds depth and separation from the background.
- Natural Lighting: Natural light can create a beautiful and realistic aesthetic in your videos. Position your subject facing a window or shoot during the golden hour (the hour after sunrise or before sunset) for soft, warm lighting.
- Artificial Lighting: Artificial lights are essential when shooting in low-light environments or when you need more control over the lighting. Experiment with different types of artificial lights, such as LEDs or tungsten lights, to achieve the desired effect.
Consider the mood and atmosphere you want to convey in your videos when choosing your lighting setup. Experimentation and practice will help you develop an eye for lighting that complements your storytelling.
Composition and Framing in Videography
Composition and framing play a crucial role in videography, as they determine how your audience perceives the visual elements within your shots. Here are some composition techniques to consider:
- Rule of Thirds: Imagine a grid with two horizontal and two vertical lines dividing your frame into nine equal sections. Positioning your subject along these lines or at their intersections can create a well-balanced and visually pleasing composition.
- Leading Lines: Utilize natural or man-made lines within your frame to guide the viewer’s eyes toward the main subject. These lines can be roads, pathways, or even the edges of architectural structures.
- Depth of Field: Control the depth of field by adjusting your camera’s aperture. A shallow depth of field, achieved with a wide aperture, can isolate your subject from the background and create a cinematic look.
- Framing: Use elements within your scene, such as doorways, windows, or foliage, to frame your subject. This technique adds depth and visual interest to your shots.
Experiment with different compositions and framing techniques to find your unique style and enhance the visual impact of your videography.
Audio Recording and Editing for Videography
Good audio quality is crucial for creating professional-looking videos. While many cameras have built-in microphones, they may not always capture clear and crisp sound. Here are some tips for recording and editing audio for your videography projects:
- External Microphones: Invest in a good-quality external microphone to capture high-fidelity audio. Directional microphones, such as shotgun microphones, are ideal for capturing sound from a specific direction, reducing background noise.
- Wind Protection: When shooting outdoors, wind can cause unwanted noise in your audio. Use a windscreen or a furry wind cover to minimize wind interference.
- Audio Editing: Use video editing software to enhance your audio. Remove background noise, adjust volume levels, and add effects or music to enhance the overall audio experience.
Remember always to monitor your audio while recording to ensure optimal sound quality. Poor audio can significantly diminish the impact of your videography work.
Pre-production Planning for Videography Projects
Pre-production planning is vital in ensuring your videography projects’ success. It involves organizing and preparing all the necessary elements before the shooting. Here are some key aspects to consider during the pre-production phase:
- Concept Development: Define your video’s purpose, message, and target audience. Create a storyboard or shot list to visualize your ideas and plan your shots accordingly.
- Location Scouting: Visit and evaluate potential shooting locations to ensure they meet your requirements. Consider factors such as lighting, accessibility, and background noise.
- Scriptwriting: If your video includes dialogue or narration, write a script to guide the actors or voice-over artists. A well-written script will help maintain clarity and consistency throughout your video.
- Talent and Crew: Determine the number of actors or on-screen talent required for your video. If necessary, recruit a team of crew members to assist with lighting, sound, and other technical aspects.
Planning and preparing before shooting will save you valuable time and resources during the production phase. A well-executed pre-production phase sets a solid foundation for a successful videography project.
Shooting Techniques for Different Types of Videos
Different types of videos require other shooting techniques to effectively convey their intended message. Here are some shooting techniques for common video genres:
- Documentary: In documentary-style videos, capturing authentic moments and real-life events is crucial. Focus on capturing candid shots and conducting interviews to create a compelling narrative.
- Music Videos: Music videos allow for creative expression. Experiment with different angles, movements, and visual effects to synchronize with the rhythm and mood of the music.
- Interviews: When shooting interviews, ensure proper framing and lighting to highlight the interviewee. Use close-ups and cutaways to add visual interest and emphasize key points.
- Action and Sports: Fast-paced action requires dynamic camera movements. Utilize techniques such as tracking shots, panning, and handheld camera movements to capture the energy and excitement.
- Corporate Videos: Corporate videos often aim to promote a brand or deliver a specific message. Maintain a professional and polished look using stable shots, proper lighting, and clear audio.
Understanding the specific requirements of each genre will help you capture visually engaging footage that effectively communicates the desired message.
Video Editing Software and Techniques
Video editing is assembling and manipulating your captured footage to create a cohesive and visually appealing final product. Here are some popular video editing software options and techniques to consider:
- Adobe Premiere Pro: This industry-standard video editing software offers both beginners and professionals a wide range of features and tools. Learn the basics of timeline editing, trimming clips, and adding transitions.
- Final Cut Pro: Exclusive to Mac users, Final Cut Pro provides a user-friendly interface and powerful editing tools. Master the art of color grading, audio editing, and advanced effects.
- DaVinci Resolve: A popular choice for color grading, DaVinci Resolve offers professional-grade color correction and grading capabilities. Learn to enhance the visual aesthetic of your videos through color manipulation.
- Transitions and Effects: Experiment with different transitions, such as cuts, fades, and wipes, to create seamless transitions between shots. Use effects sparingly to enhance the visual impact of your video without overwhelming the viewer.
Remember that the editing process is where your vision truly comes to life. Take the time to experiment with different techniques and styles to create a unique and captivating final product.
Adding Effects and Transitions to Your Videos
Adding effects and transitions to your videos can enhance the visual aesthetic and engage your audience. Here are some effects and transitions to consider:
- Slow Motion: Emphasize specific actions or moments by applying a slow-motion effect. This technique adds drama and draws attention to the details.
- Time-lapse: Condense long periods into a few seconds or minutes with a time-lapse effect. Capture the movement of clouds, sunrise, or construction processes to create visually stunning sequences.
- Dissolve: The dissolve transition is a smooth transition between two shots. It creates a gradual fading effect, which can indicate a passage of time or a location change.
- Split Screen: Display multiple shots simultaneously with a split-screen effect. This technique is useful for comparing or contrasting different subjects or actions within a single frame.
Remember to use effects and transitions purposefully, ensuring they enhance your videos’ narrative and visual impact without distracting from the main content.
Color Grading and Post-Production in Videography
Color grading is the process of enhancing the visual aesthetics of your video by adjusting colors, contrast, and saturation. Here are some tips for effective color grading and post-production:
- Establish a Color Palette: Determine the overall color scheme or mood you want to convey in your video. Choose a color palette that complements the theme and adjust the colors accordingly during the color grading process.
- Correct White Balance: Ensure accurate white balance by removing unwanted color casts. Adjust the temperature and tint settings to achieve a natural and balanced look.
- Adjust Exposure: Fine-tune the exposure levels to ensure details are visible without overexposing or underexposing the image. Utilize tools such as curves or levels to achieve the desired brightness and contrast.
- Enhance Saturation and Vibrancy: Boosting the saturation and vibrancy of specific colors can create a visually striking effect. However, use this technique sparingly to avoid an unnatural or over-saturated appearance.
Post-production is also the stage where you can refine your audio, add subtitles or captions, and finalize your video’s overall pacing and sequencing. Pay attention to these details to ensure your video is polished and ready for sharing.
Tips for Storytelling Through Videography
Videography is a powerful tool for storytelling, allowing you to evoke emotions, convey messages, and captivate your audience. Here are some tips to enhance your storytelling skills:
- Create a Narrative: Every video should have a central story or message. Define your video’s beginning, middle, and end to guide your audience on a journey.
- Use Visual Cues: Visual cues, such as framing, camera movements, and lighting, can help convey emotions or emphasize certain elements within your story.
- Establish a Connection: Connect with your audience by creating relatable characters or situations. Invoking empathy or curiosity will keep viewers engaged throughout the video.
- Pace Your Story: Consider the pacing of your video to maintain the audience’s interest and avoid monotony. Vary the tempo by using different shot lengths, editing techniques, and audio cues.
Remember, practice makes perfect when it comes to storytelling through videography. Continuously seek inspiration from other filmmakers, analyze their techniques, and apply what you learn to your projects.
Promoting and Sharing Your Videography Work
After working hard to create compelling videos, it’s time to share your work with the world. Here are some tips for promoting and sharing your videography projects:
- Create a Portfolio: Build a professional portfolio showcasing your best work. Use a website or online platform to display your videos and provide information about your skills and experience.
- Social Media: Leverage social media platforms to reach a wider audience. Post your videos on YouTube, Instagram, or Facebook platforms, and engage with your viewers through comments and shares.
- Collaborate with Others: Collaborate with other creatives, such as photographers, musicians, or writers, to create unique and diverse content. This expands your network and exposes your work to new audiences.
- Enter Film Festivals or Competitions: Submit your videos to film festivals or competitions to gain recognition and exposure within the industry. Winning or being selected for these events can open doors to new opportunities.
Remember always to credit your team members and collaborators when sharing your work. Building a strong online presence and actively promoting your videography projects will increase your chances of reaching a wider audience and gaining recognition in the industry.
Online Resources and Communities for Videographers
The videography community is rich with resources, tutorials, and forums where you can learn and connect with fellow videographers. Here are some online resources and communities to explore:
- YouTube Channels: Many experienced videographers and industry professionals share their knowledge and expertise on YouTube. Subscribe to channels such as Peter McKinnon, Philip Bloom, or DSLRguide for informative tutorials and inspiration.
- Online Learning Platforms: Websites like Udemy, Skillshare, and Lynda offer various videography courses and tutorials. Explore these platforms to enhance your skills and stay up-to-date with the latest techniques.
- Online Forums and Communities: Join online forums and communities dedicated to videography, such as Reddit’s r/videography or the Videomaker Community. Engage in discussions, seek advice, and share your work with like-minded individuals.
- Professional Associations: Consider joining professional associations or organizations, such as the National Association of Broadcasters (NAB) or the International Cinematographers Guild (ICG). These associations often provide valuable resources, networking opportunities, and industry insights.
You can stay informed about the latest trends by engaging with online resources and communities, learning from experienced professionals, and connecting with a supportive community of fellow videographers.
Conclusion: Becoming a Master Videographer
Becoming a master videographer is a journey that requires dedication, practice, and continuous learning. By mastering the technical aspects of videography, understanding the art of storytelling, and developing your unique style, you can create compelling videos that captivate and inspire.
Remember to invest in quality equipment, learn the essential techniques, and experiment with different styles and genres. Pre-production planning, shooting techniques, and post-production editing are crucial to videography. Don’t forget to promote and share your work and engage with online communities to expand your knowledge and network.
With passion, perseverance, and a commitment to honing your craft, you can master the art of videography and create videos that leave a lasting impact.
CTA: Start your journey to becoming a master videographer today. Invest in quality equipment, learn the essential techniques, and practice your skills.